Hey guys i hope you all are fine!,
So, today i got a task to Set up the Zen development environment running on your computer and upload a blog post : CoderDojo
It was quite simple to setup actually, having all the instructions given. Today i will make that even simpler for you, just follow along! :)
So, lets start by getting to know what is coderdojo actually.

CoderDojo:
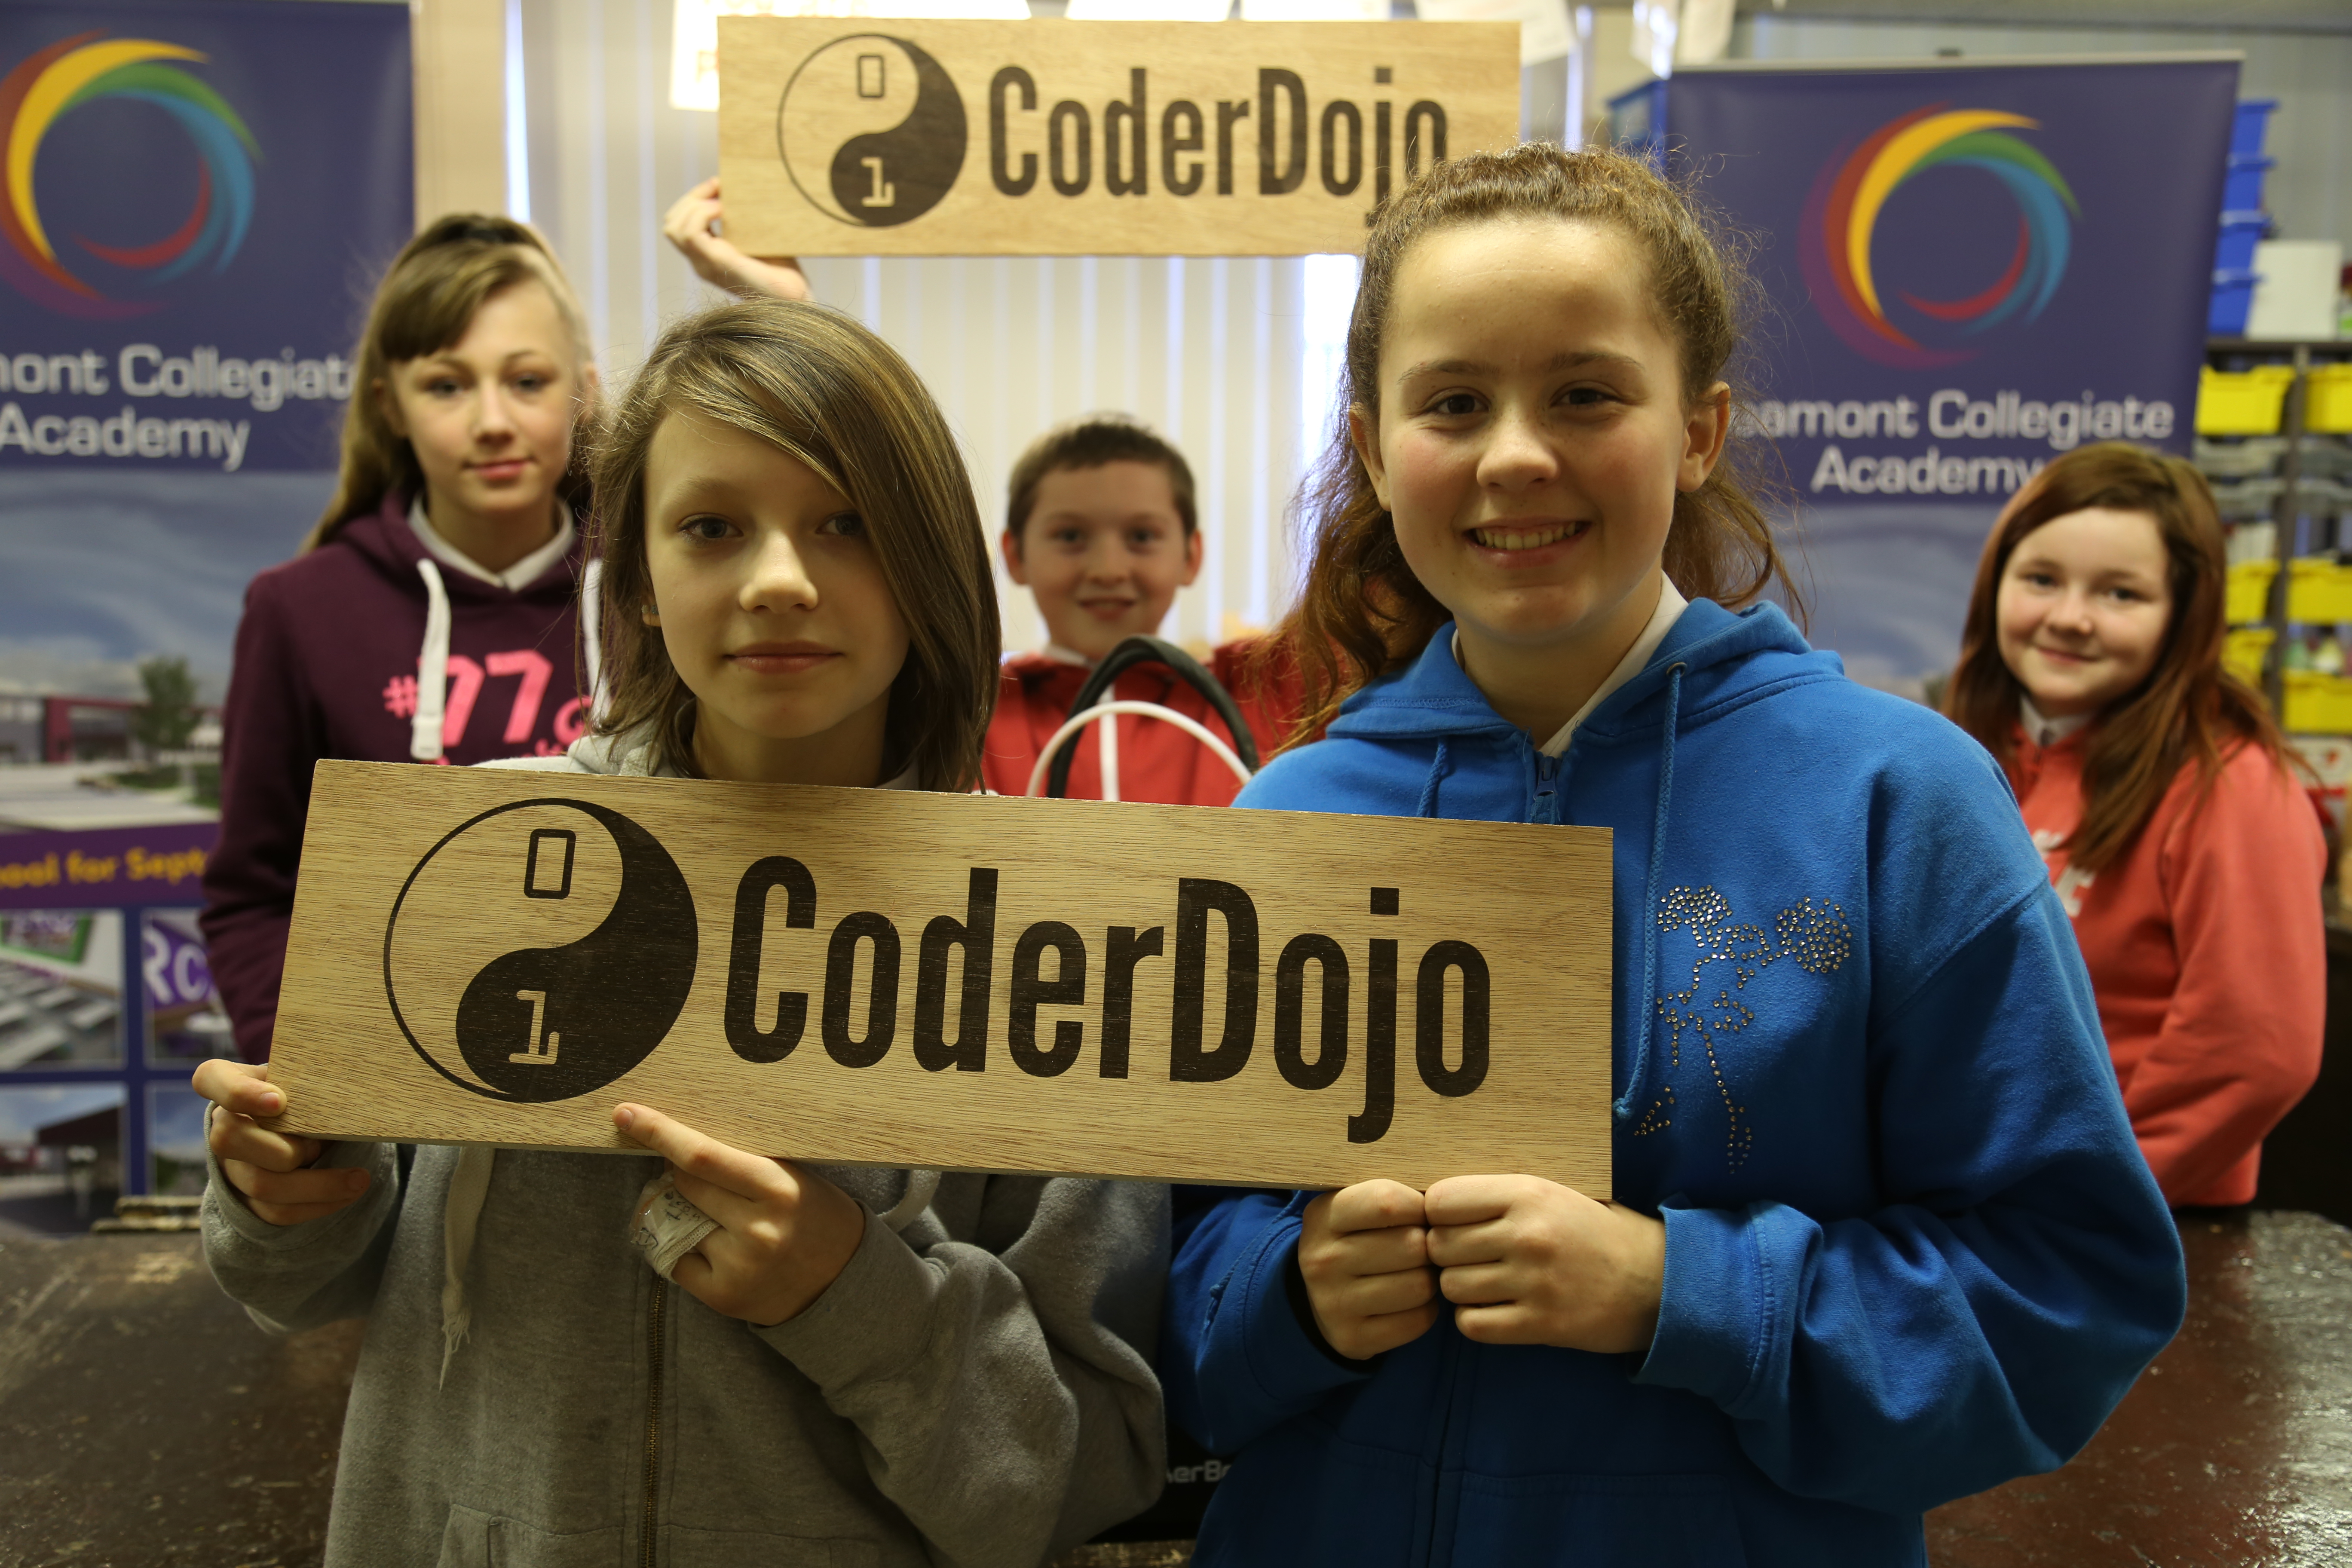
CoderDojo is a worldwide movement of free, volunteer-led, community-based programming clubs for young people. Anyone aged seven to seventeen can visit a Dojo where they can learn to code, build a website, create an app or a game, and explore technology in an informal, creative, and social environment.
The CoderDojo movement believes that an understanding of programming languages is increasingly important in the modern world, that it’s both better and easier to learn these skills early, and that nobody should be denied the opportunity to do so.

Setting up the zen environment:
So now lets start with installing the and setting up the zen environment and running the CodeDojo platform locally.
Installation:
Before setting up the environment it is required for you to have:
- NodeJS version 0.10.38 or 5.7.0 - ideally installed with nvm as described in this article
- PostgreSQL version 9.4 - see here for installation instructions for your platform. You also may want to install the pgAdmin.
- N.B. When you install PostGres make sure that you set a password for the "postgres" user and keep a note of it, or you may run into issues.
- When PostgreSQL is installed, you need to create a new user (you can do this from pgAdmin 'Login Roles' in the tree):
- username: platform
- password: QdYx3D5y
- Grunt
- Gulp
- Bower
Code Setup:
Next step is to get the Community Platform code cloned and up and running. To do that you clone this repo and use the localdev command to both setup and run the code:
$ git clone https://github.com/CoderDojo/cp-local-development.git
$ cd cp-local-development
$ nvm use
$ npm install
Then run node ./localdev.js to make sure the localdev tool can run ok. You should see output similar to the following:
Usage "./localdev.js
The localdev tool has one system configured, called zen (this can be extended to use multiple systems, but for now, 'zen' is the only one).
localdev init
Note: By default init will clone the repositories directly from the CoderDojo Foundation account. If you prefer to clone your own repos, please have a look at how to work with your own forks.
Next, run ./localdev.js init zen
localdev run
Next, run ./localdev.js run zen
- sets up 'watchers' for each service in the system
- runs each service
The output from each service is displayed in the run shell. Note that this is not a daemon process, the run command will not exit until you hit ctrl-c. The 'watchers' detect any changes to code files in any of the service code repos, if a file is changed the service is restarted automatically. This allows for really quick development.
Note that you can also run services individually if you wish,
e.g. ./localdev.js run zen cp-zen-platform.
Once run looks to be running all the services ok (you'll see a lot of stack traces in the output if they are not running ok!) you should be able to hit localhost:8000 in your browser. If this is your first time running, you should see the world map but with no dojo markers, these will appear when we install some test data.
"At last only want to say setting up coderdojo's zen platform environment was an amazing experience, you should try it too! :)"
=> Click the below link for more info about CoderDojo and how you can join this awesome club!
